Cooperative Payload Balancing Robot
ME30: Electronics & Controls — measured unknown payload mass and placed it to balance a seesaw with another robot
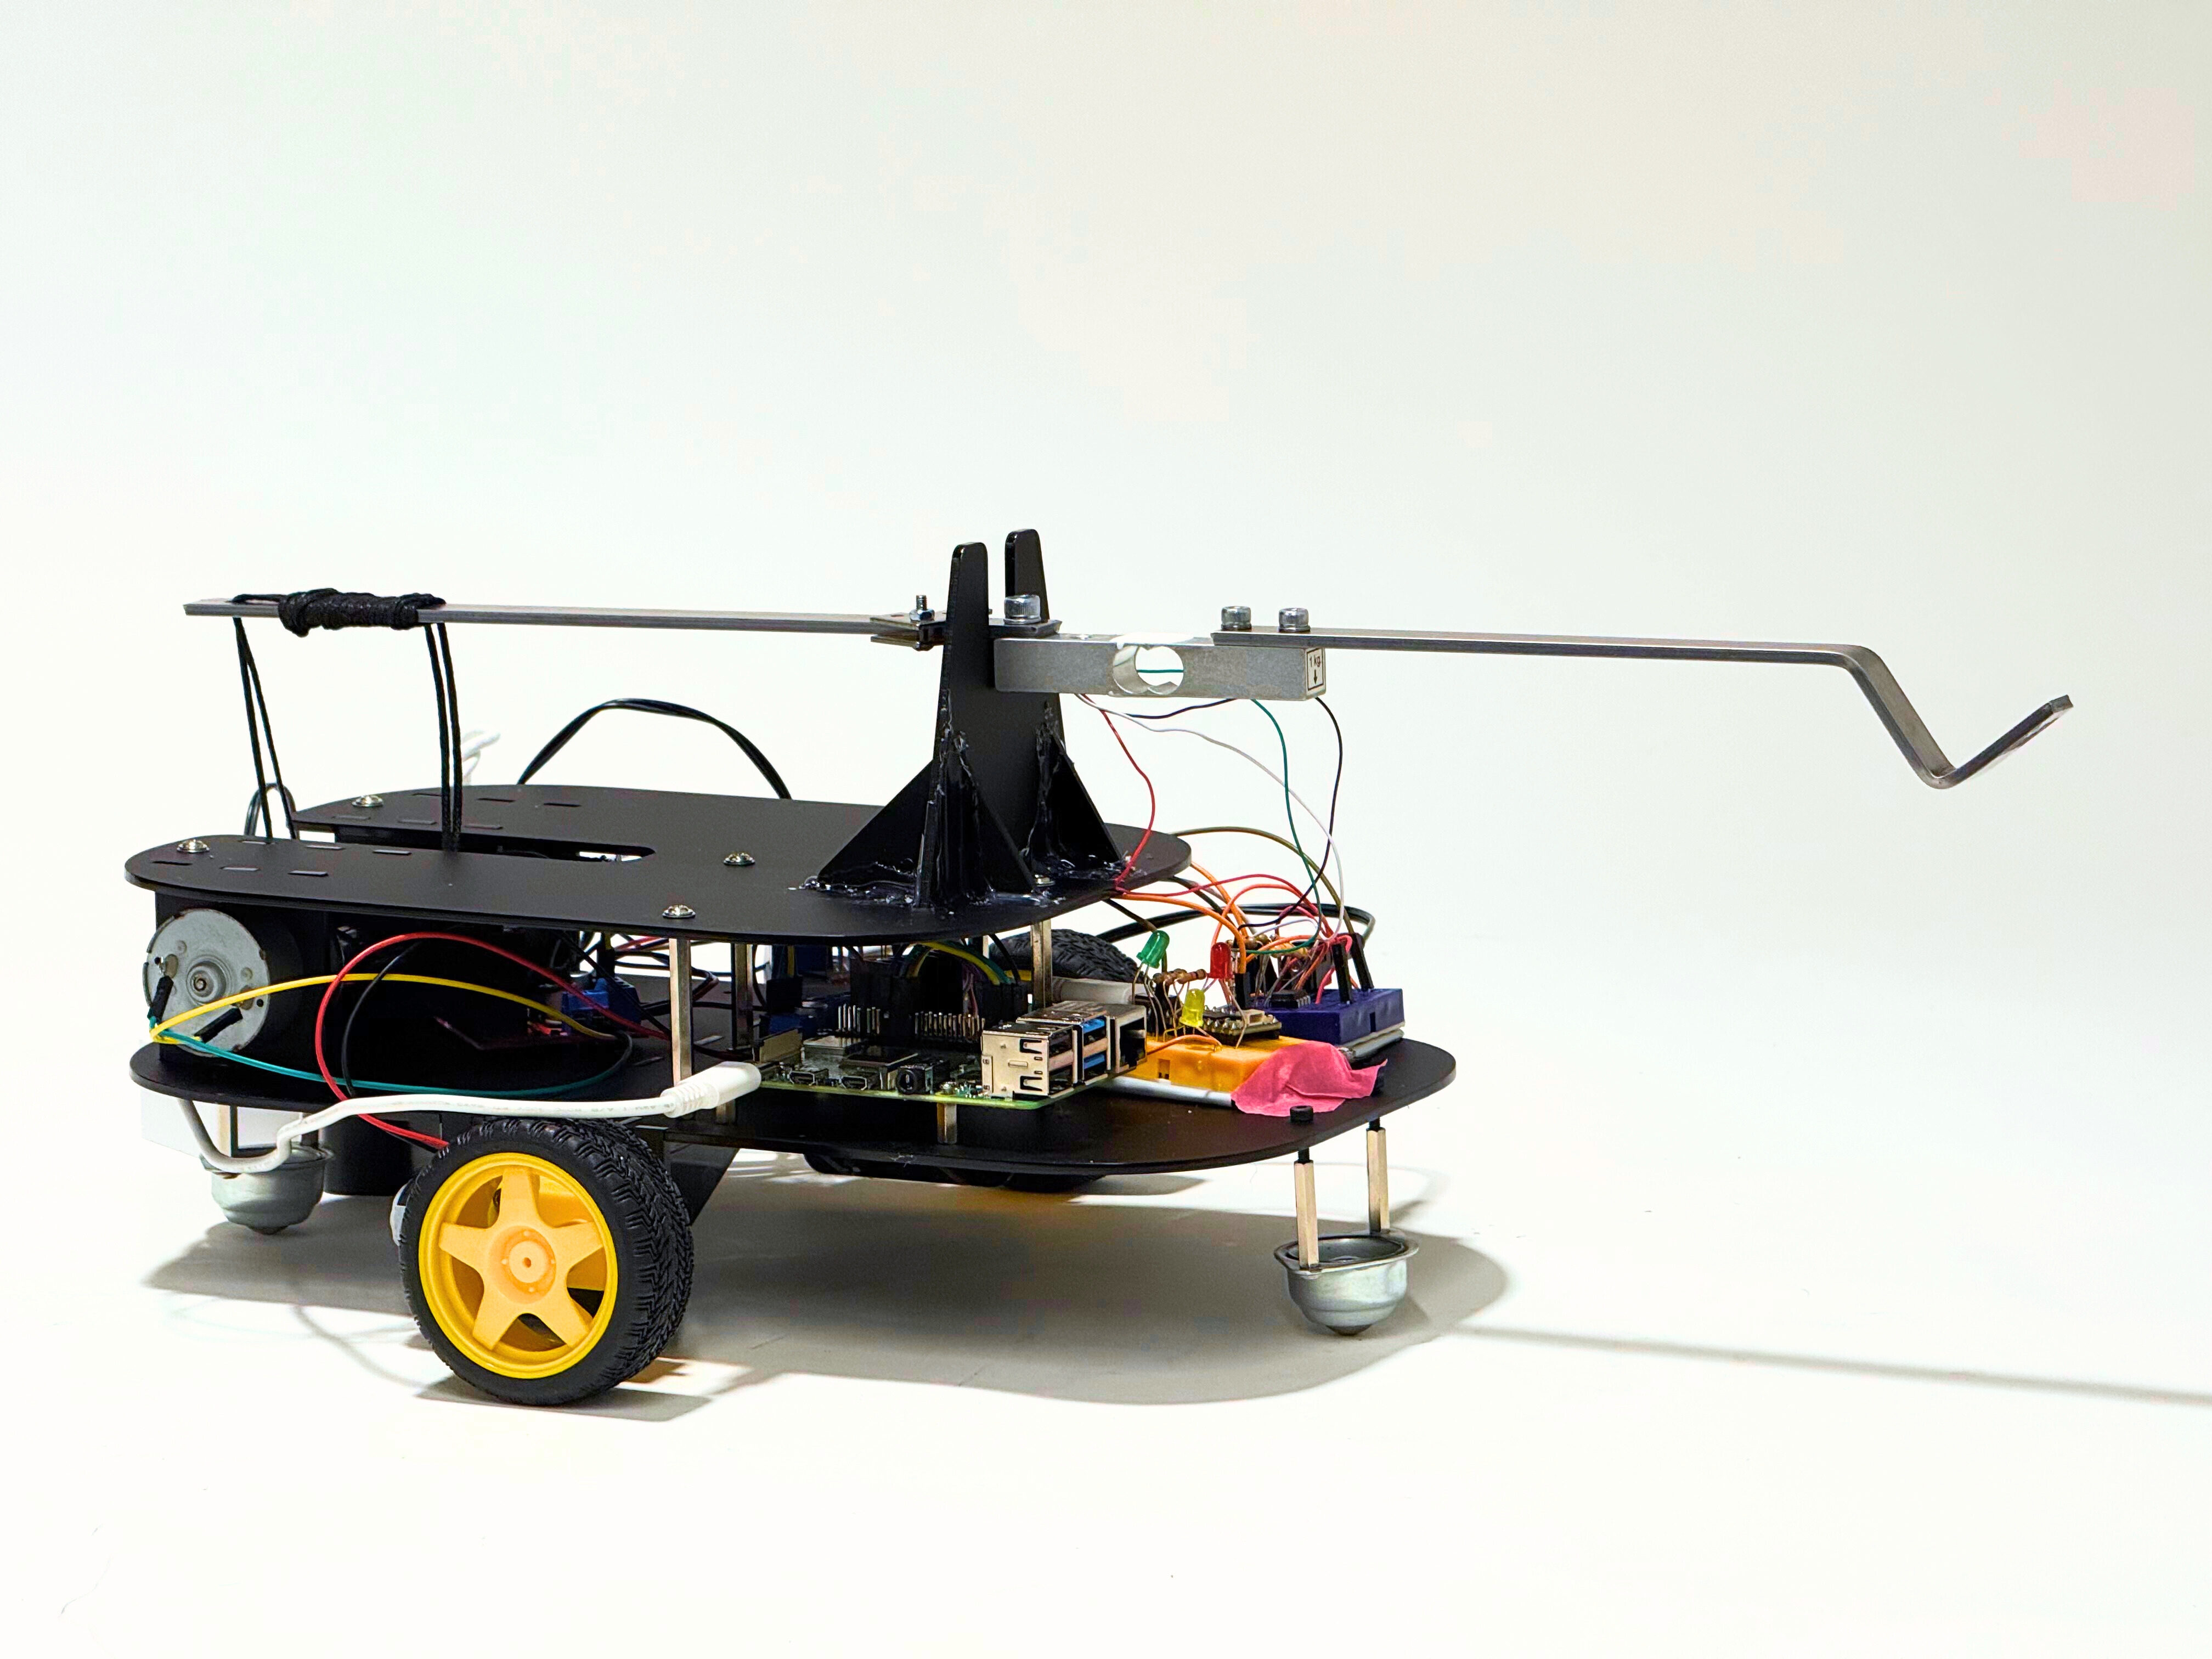
Designed and built a Raspberry Pi–controlled robot capable of measuring unknown payload mass using a load cell (op-amp + ADC) and placing it to balance a seesaw with another robot. Achieved consistent, repeatable balancing during both practice testing and the final demo through iterative integration of mechanical, electrical, and control systems.
Project Context & Requirements
This was a two-part “mega project” (Projects 5 & 6). In P5 we built a robust remote-controlled robot that could drive while carrying a hefty payload. In P6 we modified it to measure an unknown payload mass and place it strategically on a seesaw to balance torque with another team.
- Robot must fit within a 45 cm diameter footprint and remain stable while carrying payload
- Payloads appear identical but are 400 g, 700 g, or 1000 g (chosen randomly)
- Mass must be determined via load cell (no visual markings allowed)
- Must place payload away from the center (pivot region off-limits)
- Robot must be remotely controlled (web/WiFi-based control, not RC car controller)
System Overview
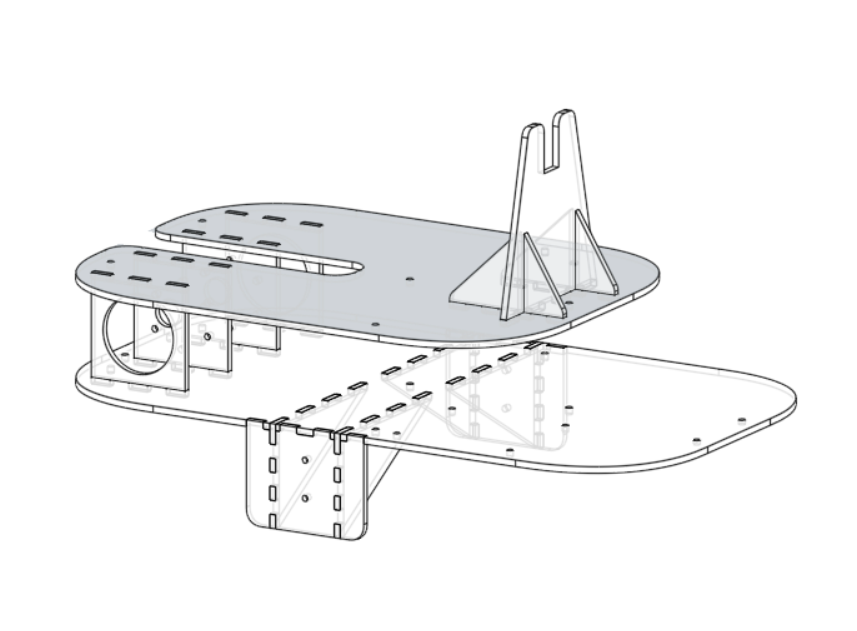
- Mechanical: Custom chassis + lifting arm designed to carry up to 1 kg payload while maintaining stability
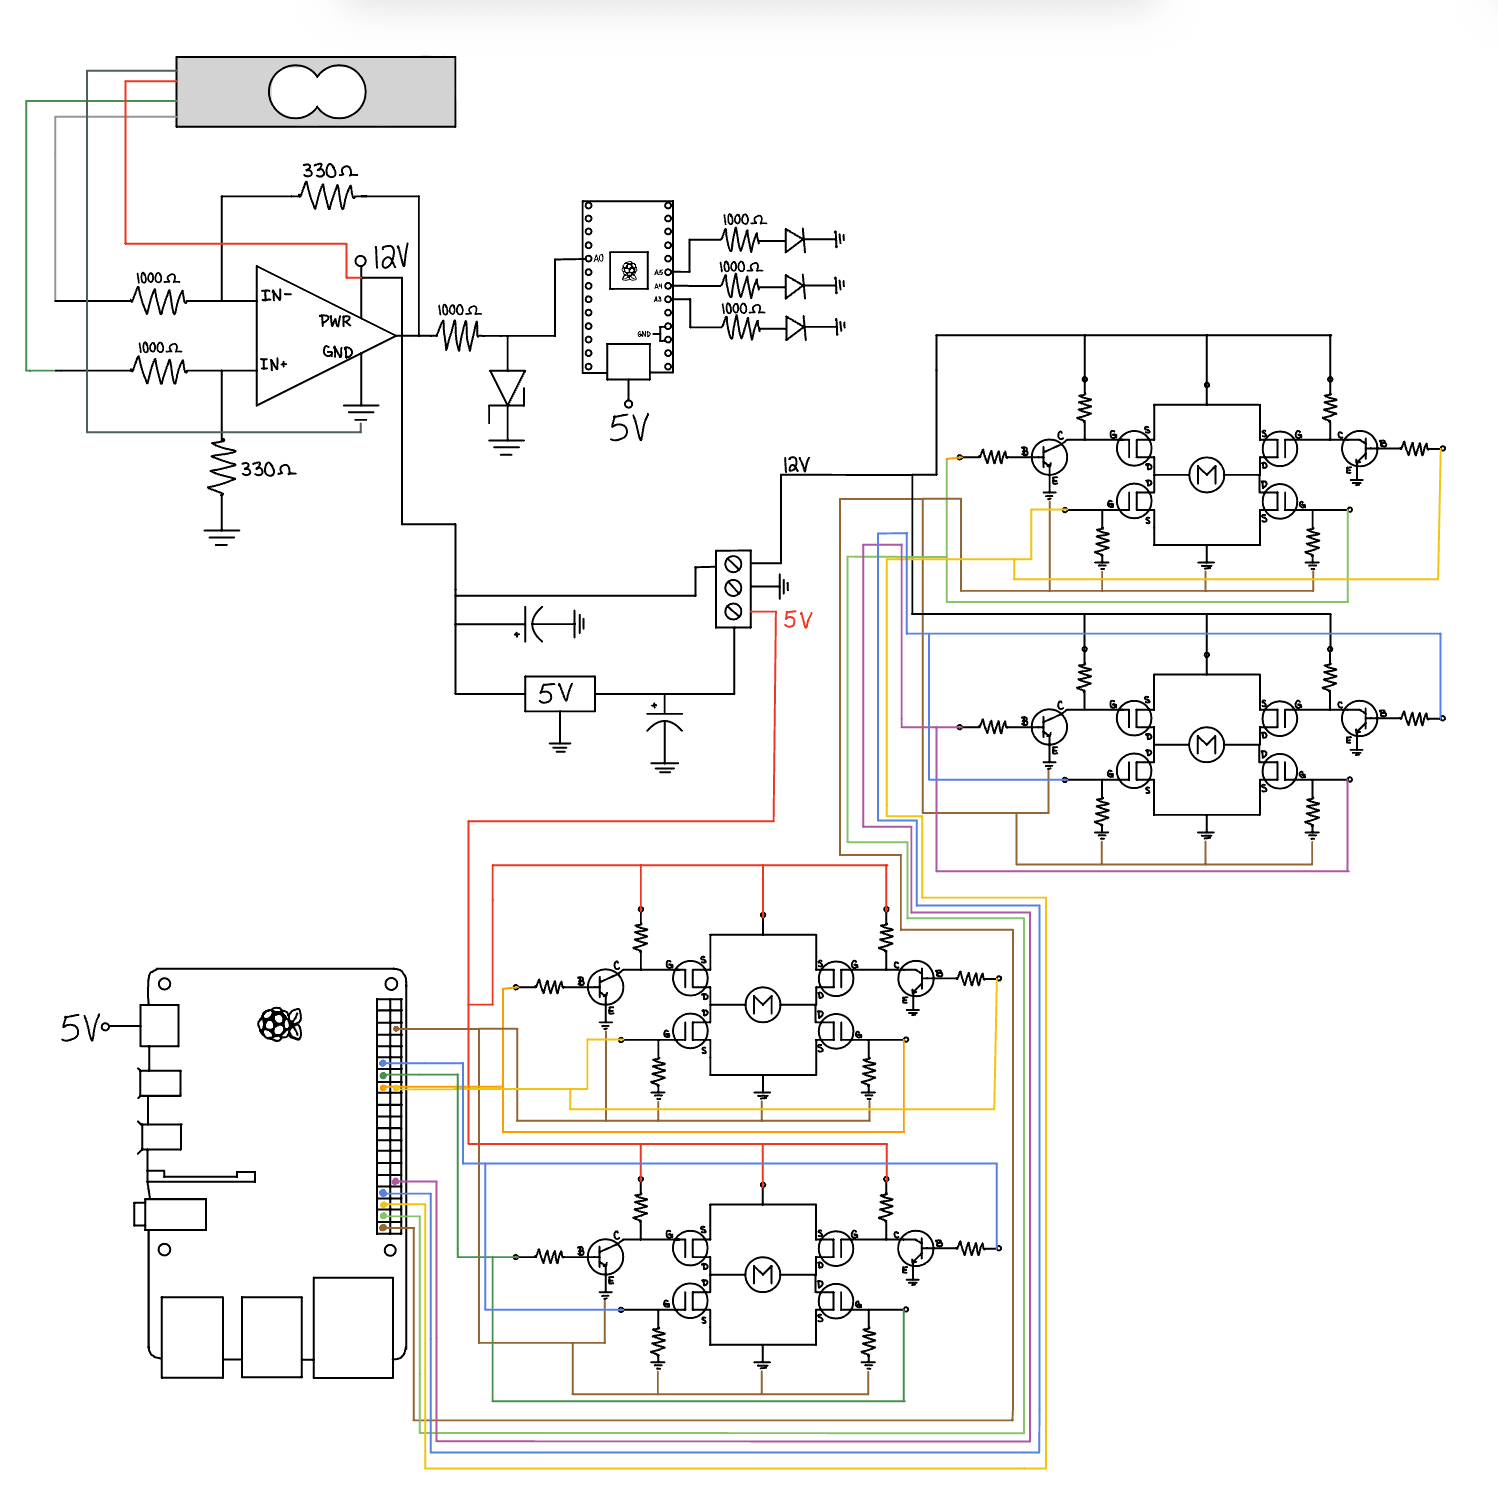
- Sensing: Load cell integrated into arm, amplified via op-amp and read through ADC
- Electronics: L298N motor drivers (we also designed/manufactured KiCad H-bridge PCBs, but used L298N due to time/space constraints)
- Controls: Custom web-based UI to remotely drive the robot and control raising/lowering of the arm
Iterative Design Process
- Drive system first: Built a stable, maneuverable base that could carry a heavy payload without tipping
- Sensor integration: Mounted load cell into the arm and developed the op-amp + ADC signal chain to get usable readings
- Calibration: Calibrated on-robot using known masses matching the expected payloads (400g / 700g / 1000g)
- Control interface: Built a web UI with buttons for driving and arm actuation to make operation repeatable and fast
- Full-system testing: Repeated “drive → lift → measure → place” tests until the system was consistent under real conditions
Results
Our robot successfully and repeatably balanced the seesaw during both practice testing and the final demonstration. Calibration and iterative integration allowed us to reliably measure unknown payloads and choose placement positions that achieved torque balance.
Engineering Skills Used
Electronics
Op-amp signal conditioning, ADC integration, L298N motor driving, wiring/debugging under time constraints.
Controls & Software
Raspberry Pi GPIO control, custom web-based UI, repeatable control logic for drive + arm operation.
Mechanical Design
Chassis CAD, arm integration, stability/center-of-mass considerations while carrying up to 1 kg payload.
Systems Integration
End-to-end bring-up, calibration, debugging interfaces, and iterating fast to reach reliable performance.
Conclusions & Future Improvements
- Replace temporary wiring with soldered connections and/or a perfboard to improve reliability and reduce debugging time
- Use more custom PCBs (including our KiCad H-bridge boards) to reduce size and clean up packaging
- Redesign the arm actuation: explore cam, pulley, or improved transmission (our string mechanism worked but struggled with the heaviest payload)
- Improve enclosure/strain relief and overall polish so the robot is more “showcase ready,” not just functional
Reflection
Given the short timeframe, I’m proud we delivered a fully working robot that met and exceeded the requirements. With more time, I’d focus on turning this into a cleaner, more permanent build that I could confidently demo without any “prototype chaos.”